

Hemp is a fiber that is made from the cannabis sativa plant. Other than making consumables, the hemp plant is growing in popularity as an item used for making ornaments. The hemp necklaces are fairly easy to make, and you will only need limited supplies. The macrame technique is used to create these ornaments. You can also use certain beads or decoratives to make the necklaces attractive.
Here is the complete procedure discussed on how to make hemp necklaces from scratch.
Things you need
When you want to make ornaments out of hemp, there are very few supplies that you require.
1) The most important supply that you need for making a hemp necklace is a hemp string. Knitting these hemp strings together using a macrame technique results in beautiful hemp ornaments.
2) You will need scissors or a knife, wax, glue, and measuring tape.
3) Other than the hemp twine, any other item would be for decorative purposes. The beads or colors can be anything of your choice and as many as you want. How the necklace would turn out would solely depend on your creativity and imagination.
Preparation
If you are keen to learn about how to make hemp necklaces at home, then here are very simple and easy steps that you can follow and create the necklace of your choice.
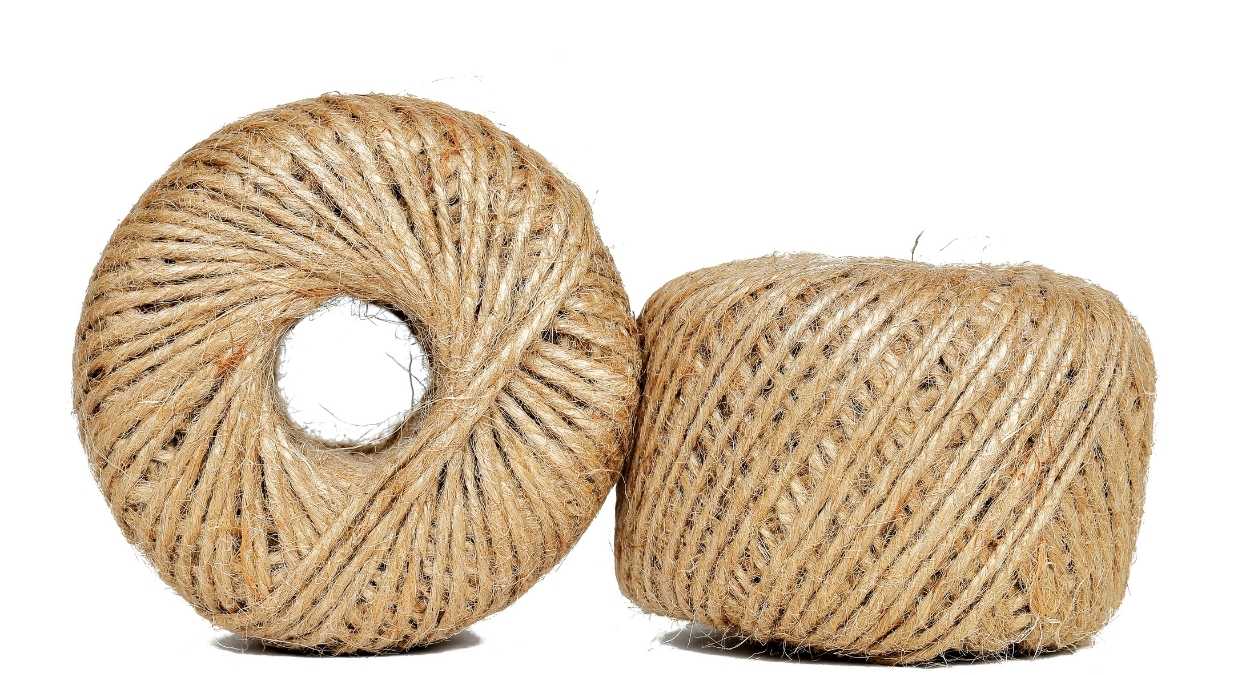
- You need to choose your hemp twine. The first step in this procedure is definitely choosing the twine you like. Hemp twine generally has a natural tan color, but you can select any other colors available to create the ornament. Hemp twine is typically very thin; the thickness can be anywhere between 1mm to 2mm, although you can find thicker cords. Before choosing your cord, you have to make sure that it is even and smooth unless you plan on using a coarser twine. You can personally go to a store and select the twine of your choice or you can always look for an art and craft supply store online that can deliver the items you require.
- Plan the type of necklace you want to make beforehand. This way, you can have a blueprint of the creation in your mind so you can involve the beads and pendant accordingly. The number of beads needed for your necklace will also be clear, and you will have it all with you while making the necklace. You can have an idea of how to add more beads. Or you can look for pretty necklace ideas only using twine for your necklace. If you want to use twine as your base for a necklace without the beads, then you don’t have to put extra effort into making the necklace. You can continue simply by noting the twines and creating innovative designs using the knot method.
- Measure and cut the twine. You will need scissors or a sharp knife. You can cut one 4 to 5 meters long hemp twine. Then, you need to cut another length; it should be twice the length of the piece of jewelry, plus a little extra. The necklace that is discussed here will be about half a meter in length. So considering one complete yard that measures about a meter would be enough. If you are planning on making a necklace that is shorter or longer, then you have to measure the twine around your neck accordingly. Do not forget to add several feet more hemp twine than the amount you measured so that you have a lot of space left for knotting.
- Waxing the cord that you have cut. Before starting, you will need to rub the hemp thread that you are going to use with beeswax. Doing this would help in keeping the knots tight and in place. It will also help in protecting the necklace from getting dirty; the layer will act as a cover for the dirt to reach the cord. You can usually find bars of beeswax at hobby stores. There are hobby stores where it is very easy to find beeswax bars.

Procedure
- You have to fold the cords in half. The chosen hemp twine needs to be folded in half with the shorter twine folded on the inside and the 5-meter long twine folded on the outside. The string that is longer (that is, the 5-meter long string) will make the “knotter”. This is the cord that will be used to make the knots. The strings that are shorter in length can also be called the carrier. These cords or strings are meant to be used for anchoring the cords. While making the knots, you have to make sure that the strings are lined up evenly so that proper alignment of the cords is there.
- The overhand knot needs to be tied up. There are loops present on which the knots need to be tied up. Tying these overhand knots is necessary; this will prevent the notes from opening up.
- Proper arrangement of cords should be done. As discussed, the core of the strings that are shorter in size should always be only the inside, While the strings that are longer should always be on the outside. If while making the necklace you cannot seem to line up the cords properly, you need to stop and untie the knot to line up the ends and again start to retie the knots.
- A half-square knot needs to be made. You can start from the far right by grabbing the cord. You need to draw the string from below the first two cords, first onto the left side and then over the last cord. You have to make a loop from the far right of the cord. Again you have to bring the code below the first two chords onto the left side and then over to the last one.
- Keep on making knots. You have to continue to make a knot until you reach the length of 3 cm or the number of knots you have made reaches 17. For making it flat-looking, you have to alternate the sides while knotting.
This is how you can carry on knotting the thread. Add beads in between, then again continue the process until you reach the end. Secure the ends, and your necklace is ready.